Roofing Setps
THE STANDARD STEPS WE FOLLOW FOR ROOF REPLACEMENT
Lorem ipsum dolor sit amet, consetur sadipscing elitr, sed diam nonumy eirmod tempor. Lorem ipsum dolor sit amet, consetur sadipscing elitr, sed diam nonumy eirmod tempor.Lorem ipsum dolor sit amet, consetur sadipscing elitr, sed diam nonumy eirmod tempor.Lorem ipsum dolor sit amet, consetur sadipscing elitr, sed diam nonumy eirmod tempor.
Lorem ipsum dolor sit amet, consetur sadipscing elitr, sed diam nonumy eirmod tempor. Lorem ipsum dolor sit amet, consetur sadipscing elitr, sed diam nonumy eirmod tempor.Lorem ipsum dolor sit amet, consetur sadipscing elitr, sed diam nonumy eirmod tempor.Lorem ipsum dolor sit amet, consetur sadipscing elitr, sed diam nonumy eirmod tempor.
-
-
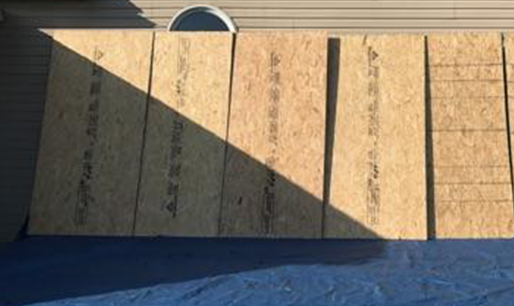
STEP 1
Tarp is placed over the landscaping and driveway to protect it from falling Debris, and plywood is placed over the windows, doors, garden and air conditioner to protect them from falling debris.
-
-
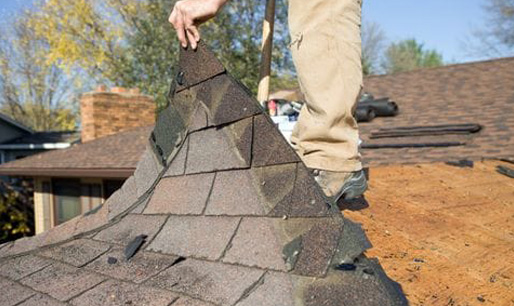
STEP 2
Remove one layers of shingles (charge extra to remove additional layers.)
-
-
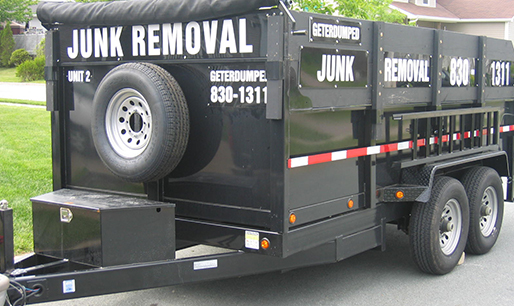
STEP 3
Disposed all old shingles into garbage wheel trailer (provide by our company) and take away from property.
-
-
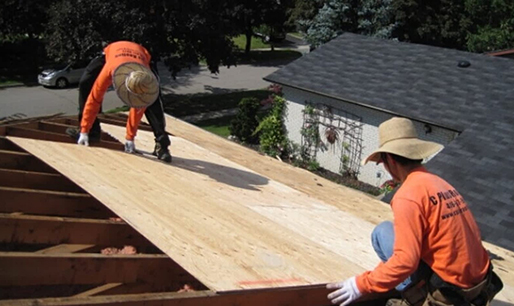
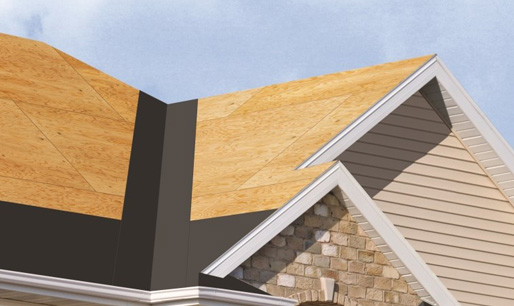
STEP 4
Inspect roof deck and replace any damaged plywood ( $55 dollars for each sheet 3/8, 4ft by 8 ft) Ask home owner before take any action.
-
-
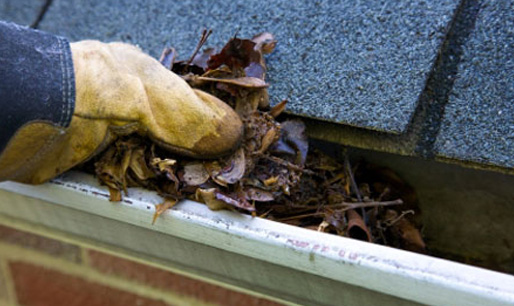
STEP 5
Clean the eavestrough twice. First before installation, and second after installation with leaf blower.
-
-
STEP 6
Install Ice and Water Shield 3 foots along the roof edge. Install Ice and water Shield underneath valley. It’s a material to prevent ice dam leak. (Include Garage).
-
-
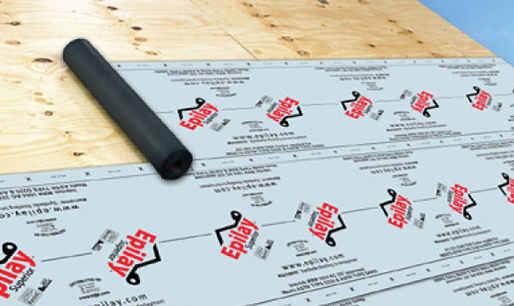
STEP 7
Install Synethic Underlayment for entire roof. Its a extra layer water protection in-case shingle blow off. ( $0.35 cents every 1 sq foots. Include garage.) Recommend roof slope below 6/12
-
-
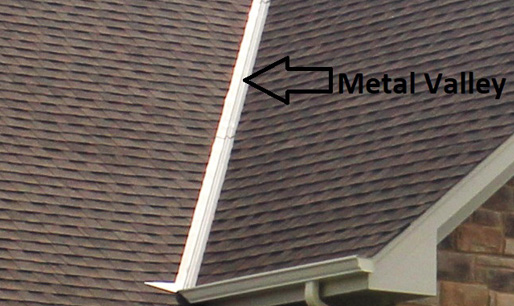
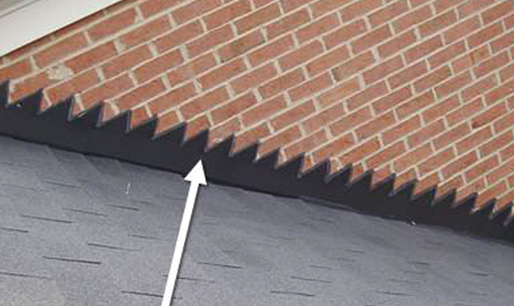
STEP 8
Install new metal valley.
-
-
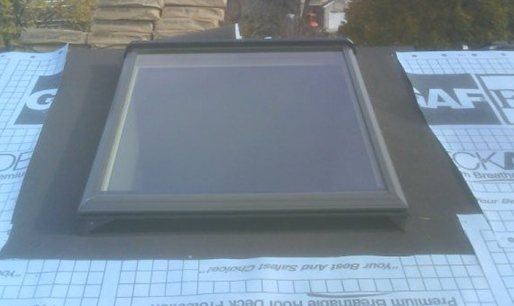
STEP 9
Install Ice and Water Shield surround skylight.
-
-
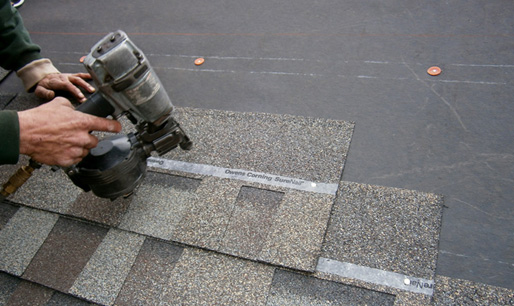
STEP 10
Install new shingles and ridge caps professionally. High wind application. (install 6-7 nails per shingle.)
-
-
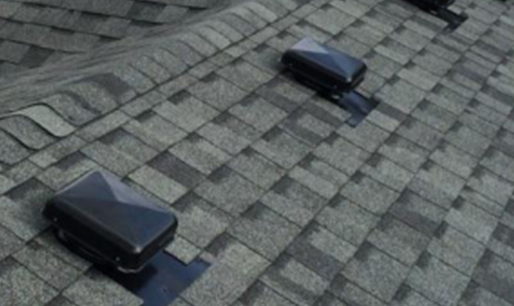
STEP 11
Install new metal air vents to prevent wildlife damage, and install enough new metal vents to meet the Ontario Building Code.
-
-
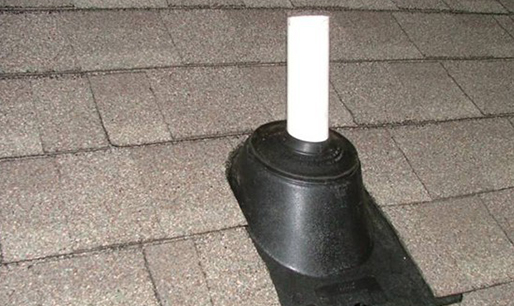
STEP 12
Install new plumbing stack flashing.
-
-
STEP 13
Re-fasten and re-cualk wall flashing. (charge extra to replace new flashing.)
-
-
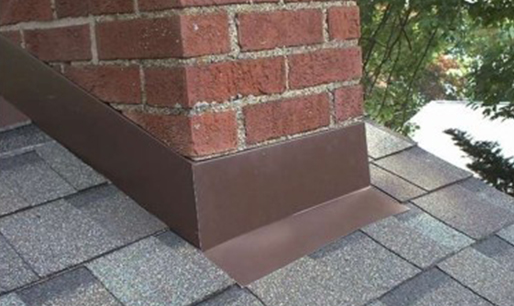
STEP 14
Re-fasten and re-cualk Chimney flashing. (charge extra to replace new flashing.)
-
-
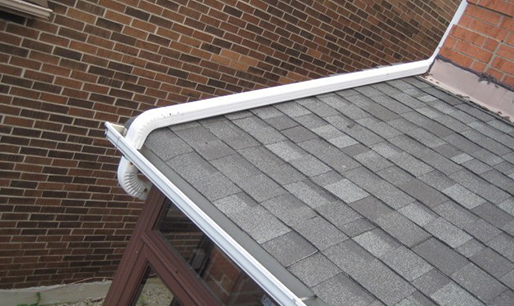
STEP 15
Extend downpipe directly into eavestrough (Avoid water damage shingle on garage roof.
-
-
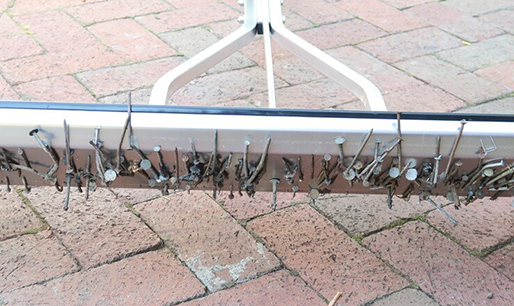
STEP 16
Remove nails in your lawn and drive way with magnetic boom and final clean up with no mess leave behind property. (Clean up also include neighbors property due to our installation.)
-

-
STEP 17
We provide 10 years workmanship warranty.
-

-
STEP 18
We always ready to show you our Liability Insurance, Wsib, Roofing License, Working at height license and Certified Roofer Certificate. We are ready to give you a copy.